
Needlepoint Instagram
Using social media to revive interest in a longtime hobby

I’ve been needlepointing for a long time, y’all. If you can believe it, my first needlepoint project was way back in 1994; a belt to coordinate with my sorority jersey. Needlepoint belts were huge at my college; it felt like every girl at Transylvania worked on a belt for herself, her boyfriend, or her dad.
Over the years, I’ve tried a lot of crafty hobbies. I’ve learned to knit and cross-stitch; while I enjoy both of these, I always come back to needlepoint. It’s one of my very favorite stress-relievers, and I love the creative forms that so many needlepoint projects take. I started needlepointing seriously again a couple of years ago. I started back into it by making a few belts for Bob, including this University of Kentucky campus belt and this black Lab Christmas ornament.


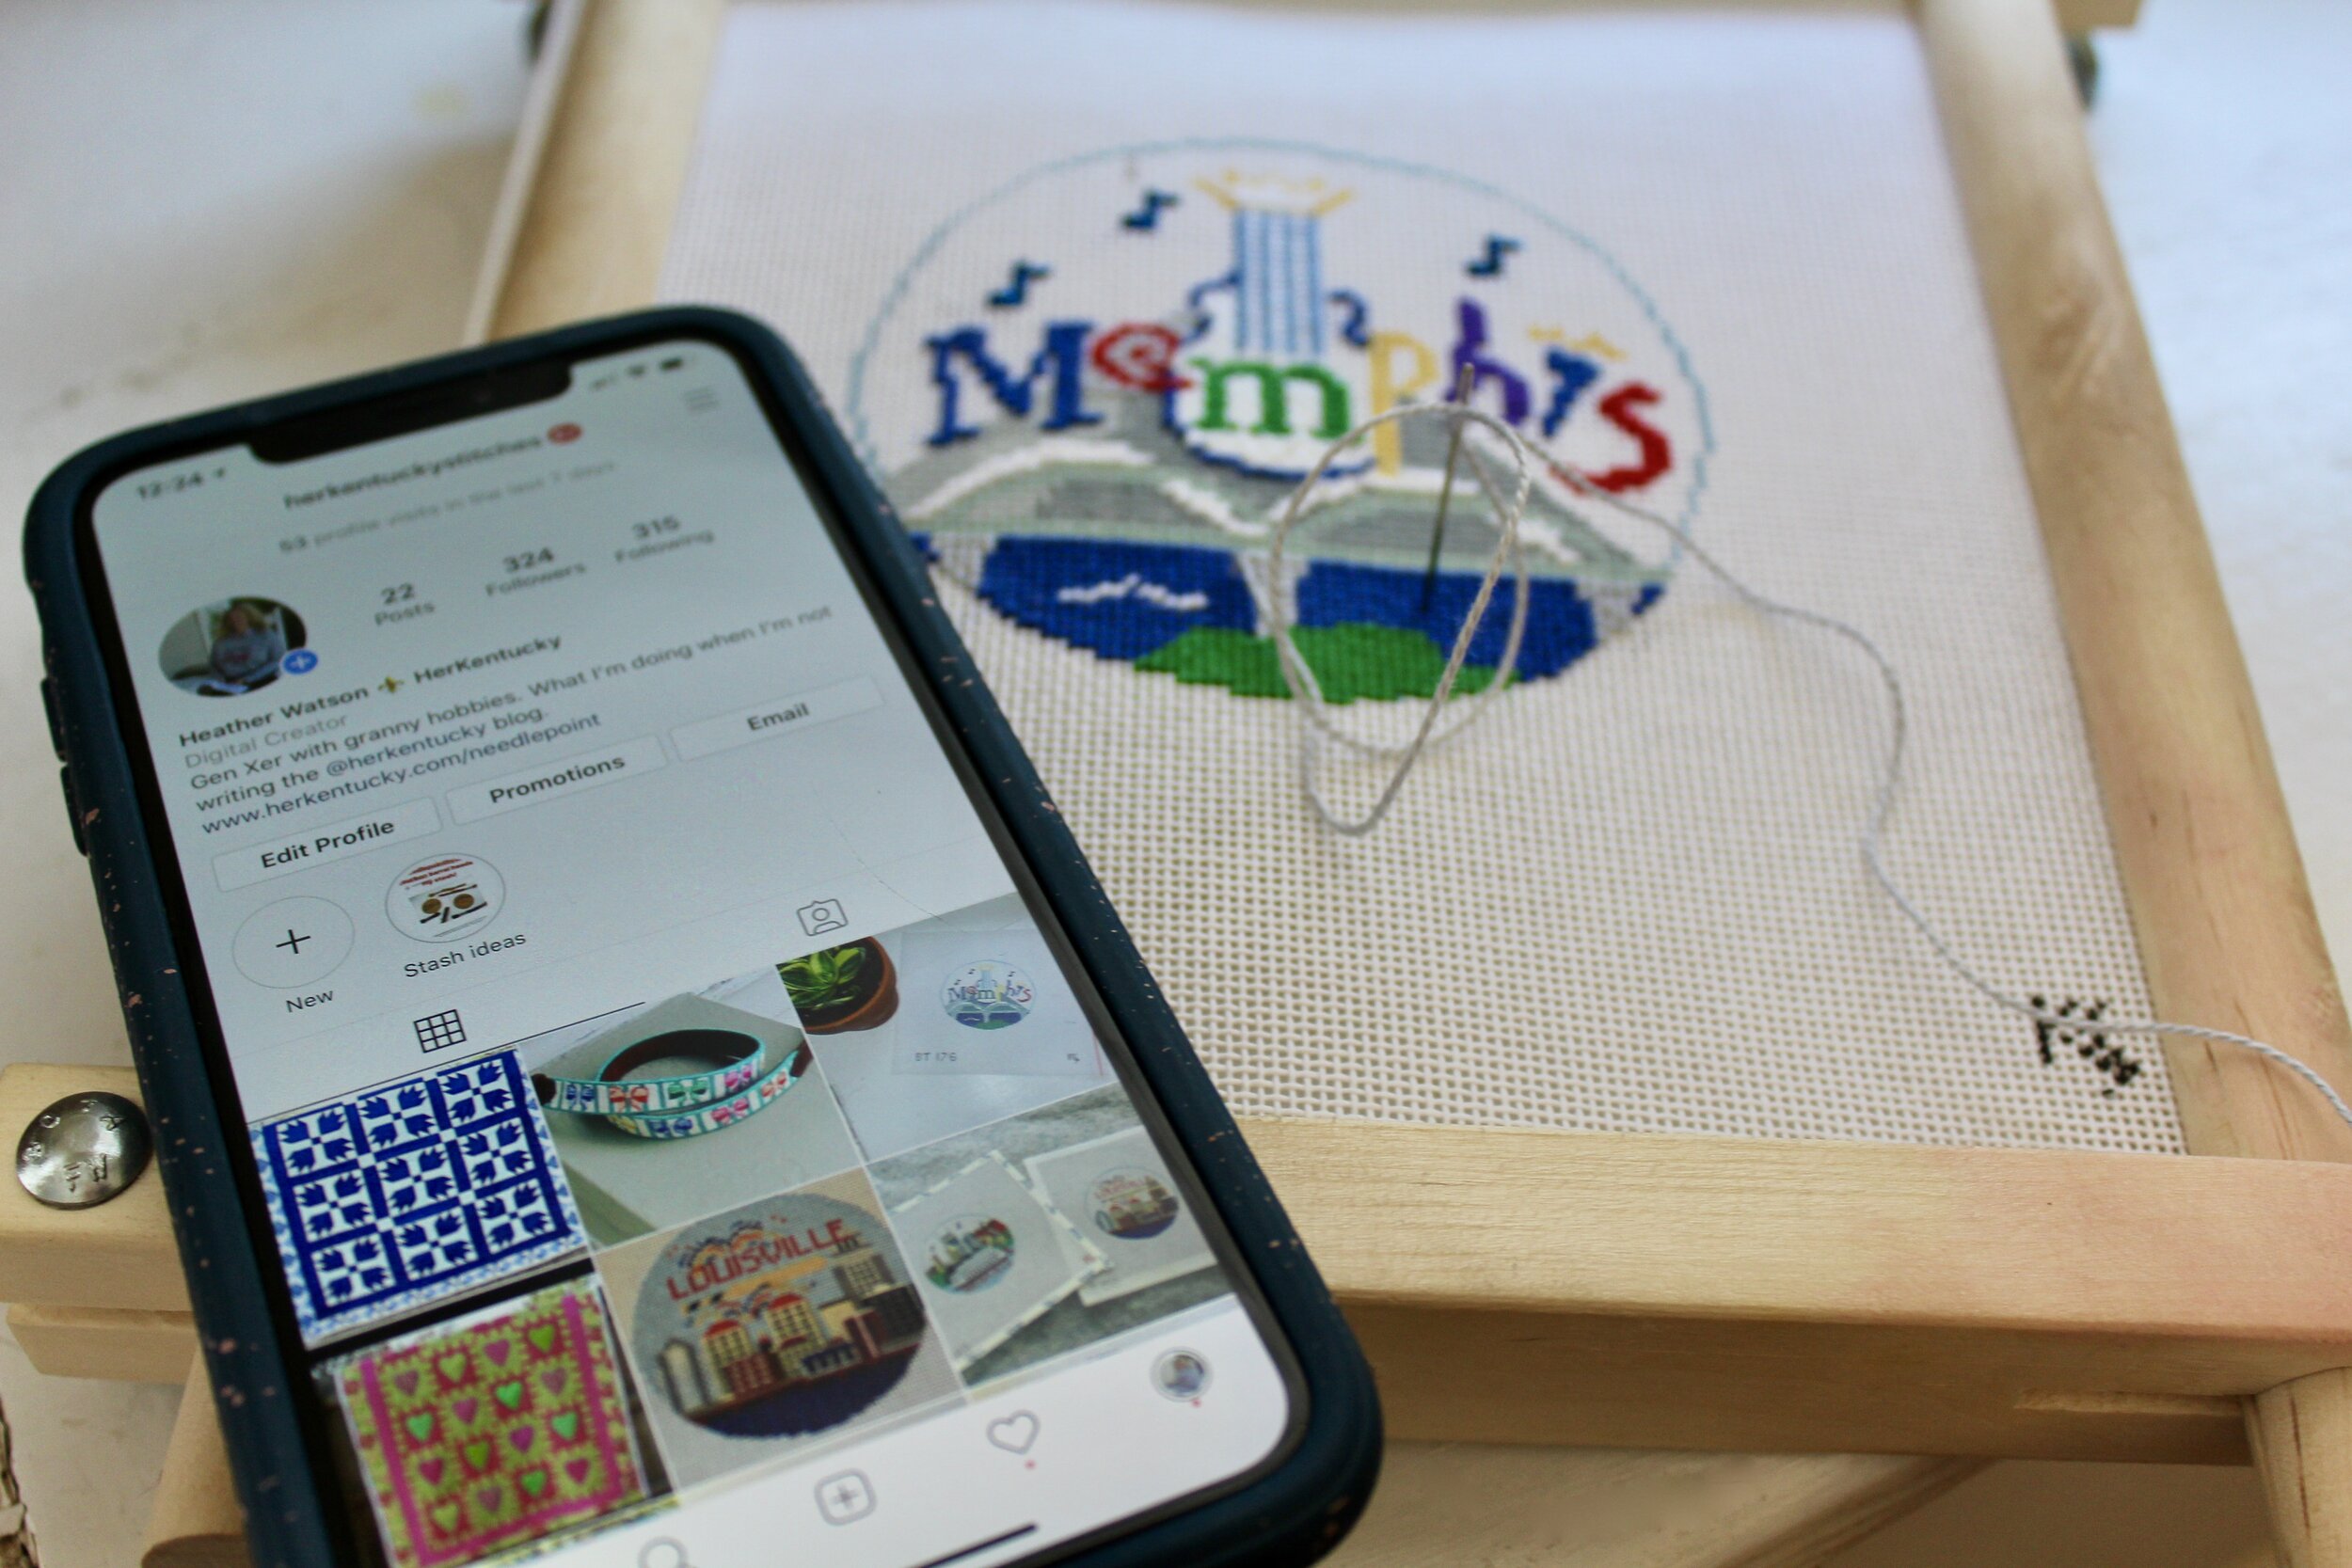
Around the time I started to get interested in needlepoint again, I started to notice that a lot of folks were spending their free time stitching as well. I ran across an article that coined the utterly wonderful term “grandmillenial”, and I soon found a social media community of other folks who enjoy needlepoint as much as I do. I created a HerKentucky Stitches Instagram account a few months ago just for needlework projects; I didn’t want to bore my Instagram followers with a ton of needlepoint-related content. In addition to my ongoing needlepoint and cross-stitch projects, I decided this would be a fun place to post photos of the gorgeous quilts my grandmother has made for me over the years.

Y’all, I’ve had so much fun with needlepoint Instagram. I’ve discovered so many fun new techniques and ideas that have improved the quality of my needlepoint projects. There are so many needlepoint stitches that I didn’t know about, and a whole world of needlepoint designers and shops that have passionate followings. It’s so nice to take a hobby I’ve had for years and learn ways that I can improve!

I’ve also found myself learning to use Instagram in a totally new way. I’m less concerned with being a “content creator” for this small, niche account, and more interested in learning from others’ ideas. Did you know that you can save others’ Instagram posts and sort them into collections? Even better, these saved posts are completely private — nobody sees your saved posts! It’s like your own private Pinterest! I save stitch ideas, ornament ideas, etc., on my needlepoint account for future reference. It’s a great time-saver!


It’s so fun to use social media to renew my interest in a longtime favorite hobby and to learn new tips! If needlepoint is your thing, join me at HerKentucky Stitches!
How to Make a Needlepoint Belt, Part One
Step-by-Step guide to creating a needlepoint belt.
Over the past year or so, I’ve found myself really interested in needlepoint. It’s a hobby I’ve picked up time and again for well over 20 years, since my undergrad days at Transylvania. I absolutely love making needlepoint belts. They're such a fun project to undertake, and they make incredible gifts!
Over on Instagram, I’ve posted some photos of belts I’ve made or works in progress, and have had a lot of questions about how to get started. Today, I’ve teamed up with NeedlePaint, a custom needlepoint company, to give you a step-by-step guide!
Step 1: Determine your project!
Are you making a belt, dog collar, key chain, or sunglass strap? These questions weigh heavily into how much time and money you’ll spend on the project. It might be best to start with something small like a dog collar, or a pattern that doesn’t involve a lot of tiny detail. You’ll probably find that you get the hang of it in a hurry and are ready to move on to a more complex project fairly quickly!
What materials are used in your belt kit? I can’t stress this enough. If it’s your first belt, then you’ll want to purchase a kit that has all of your materials together! As a general rule, the folks who sell the canvas are going to be better at selecting the appropriate threads and needles than you are. Let them kit your thread so that you have the correct colors, and the appropriate thread and needle sizes. Here are a few things you’ll need to know about the materials:
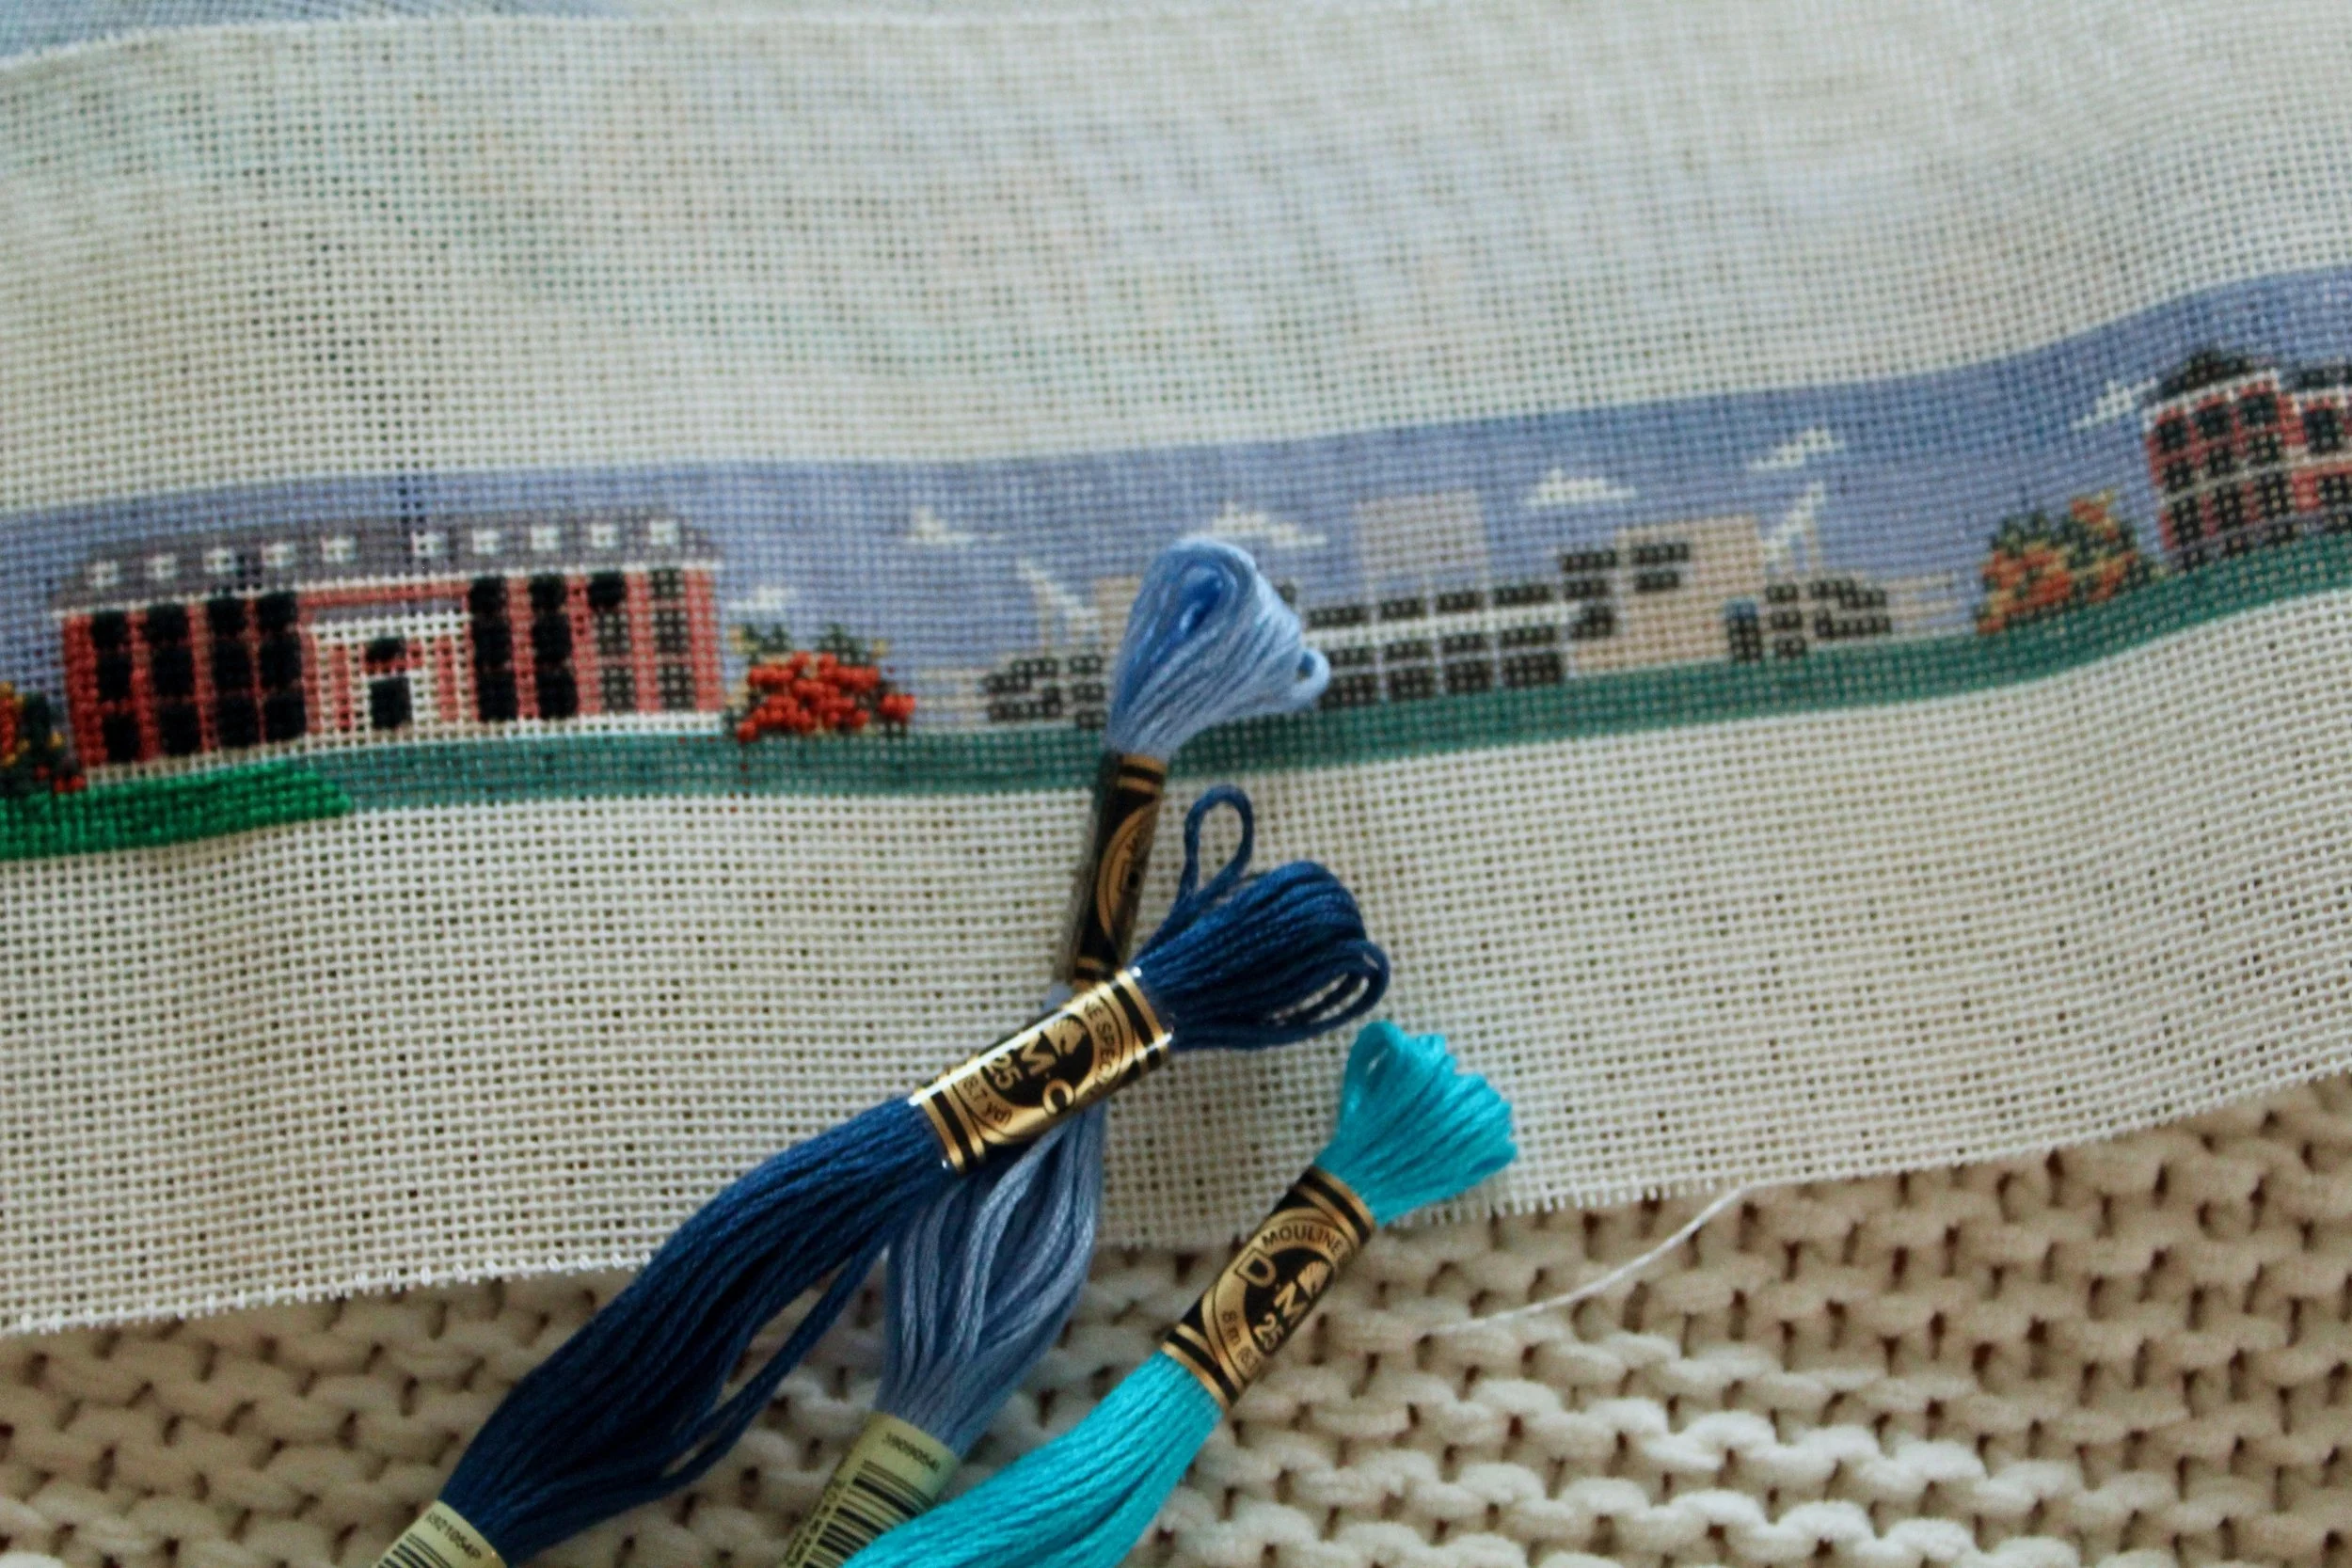
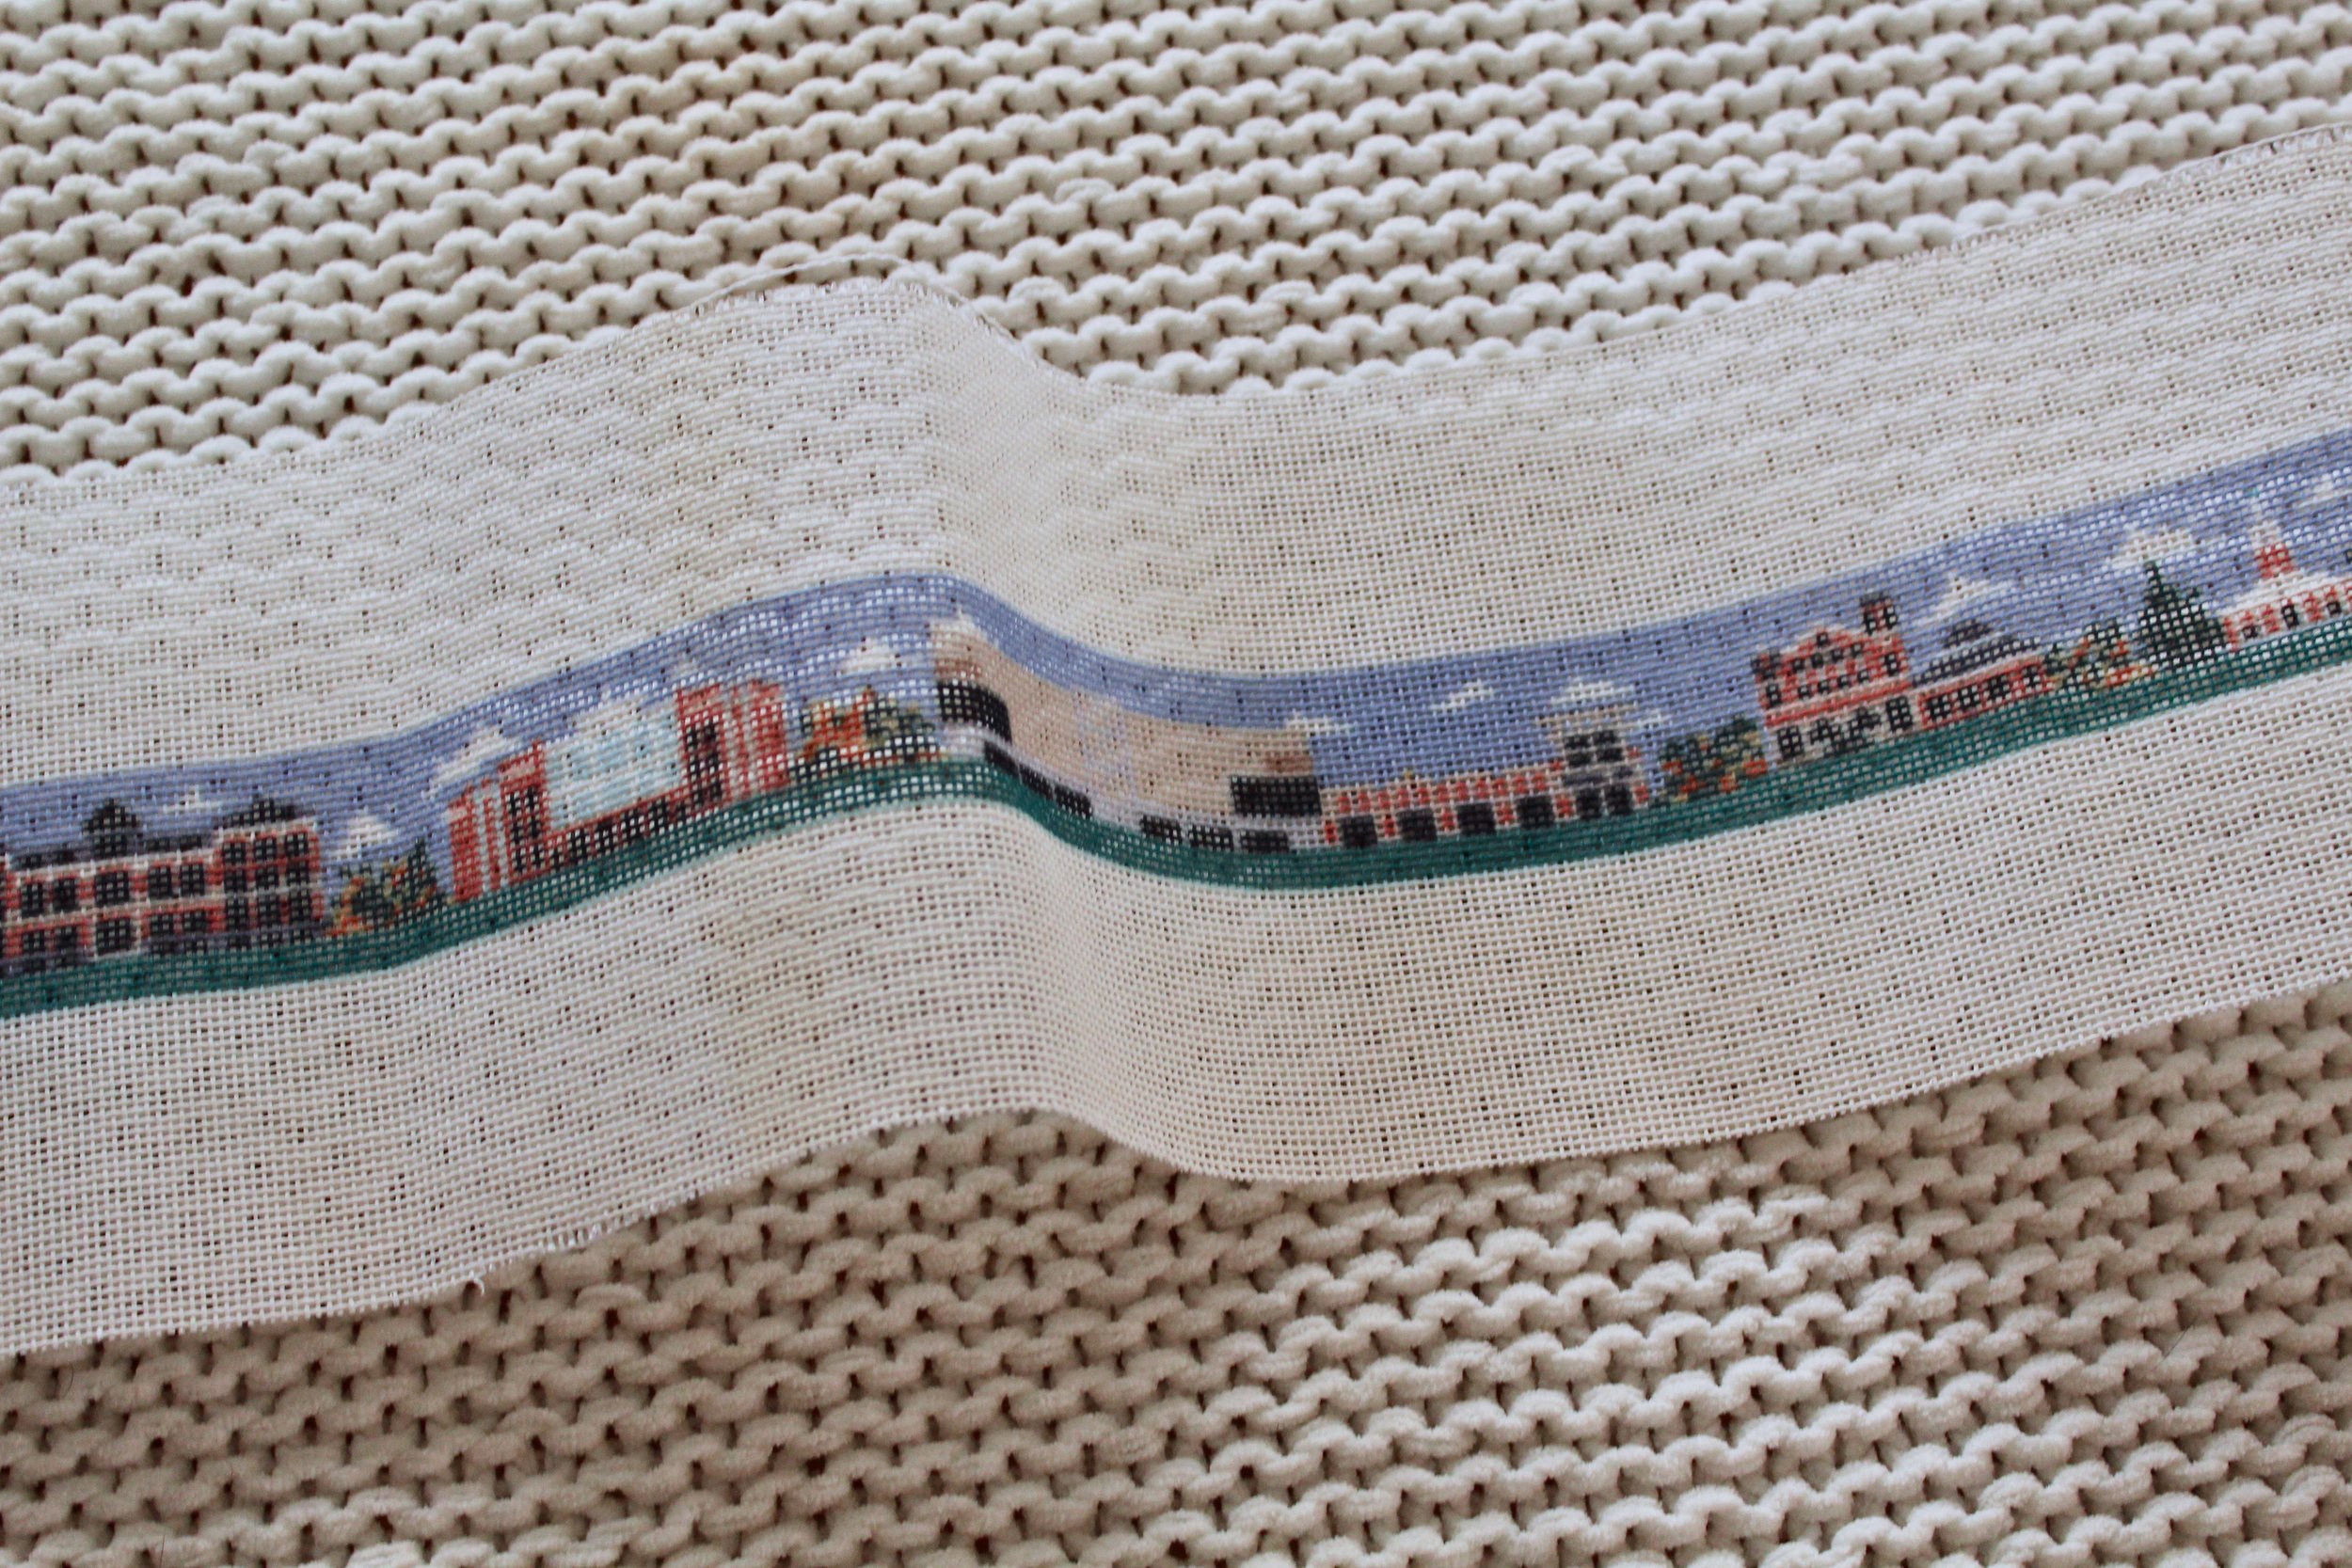
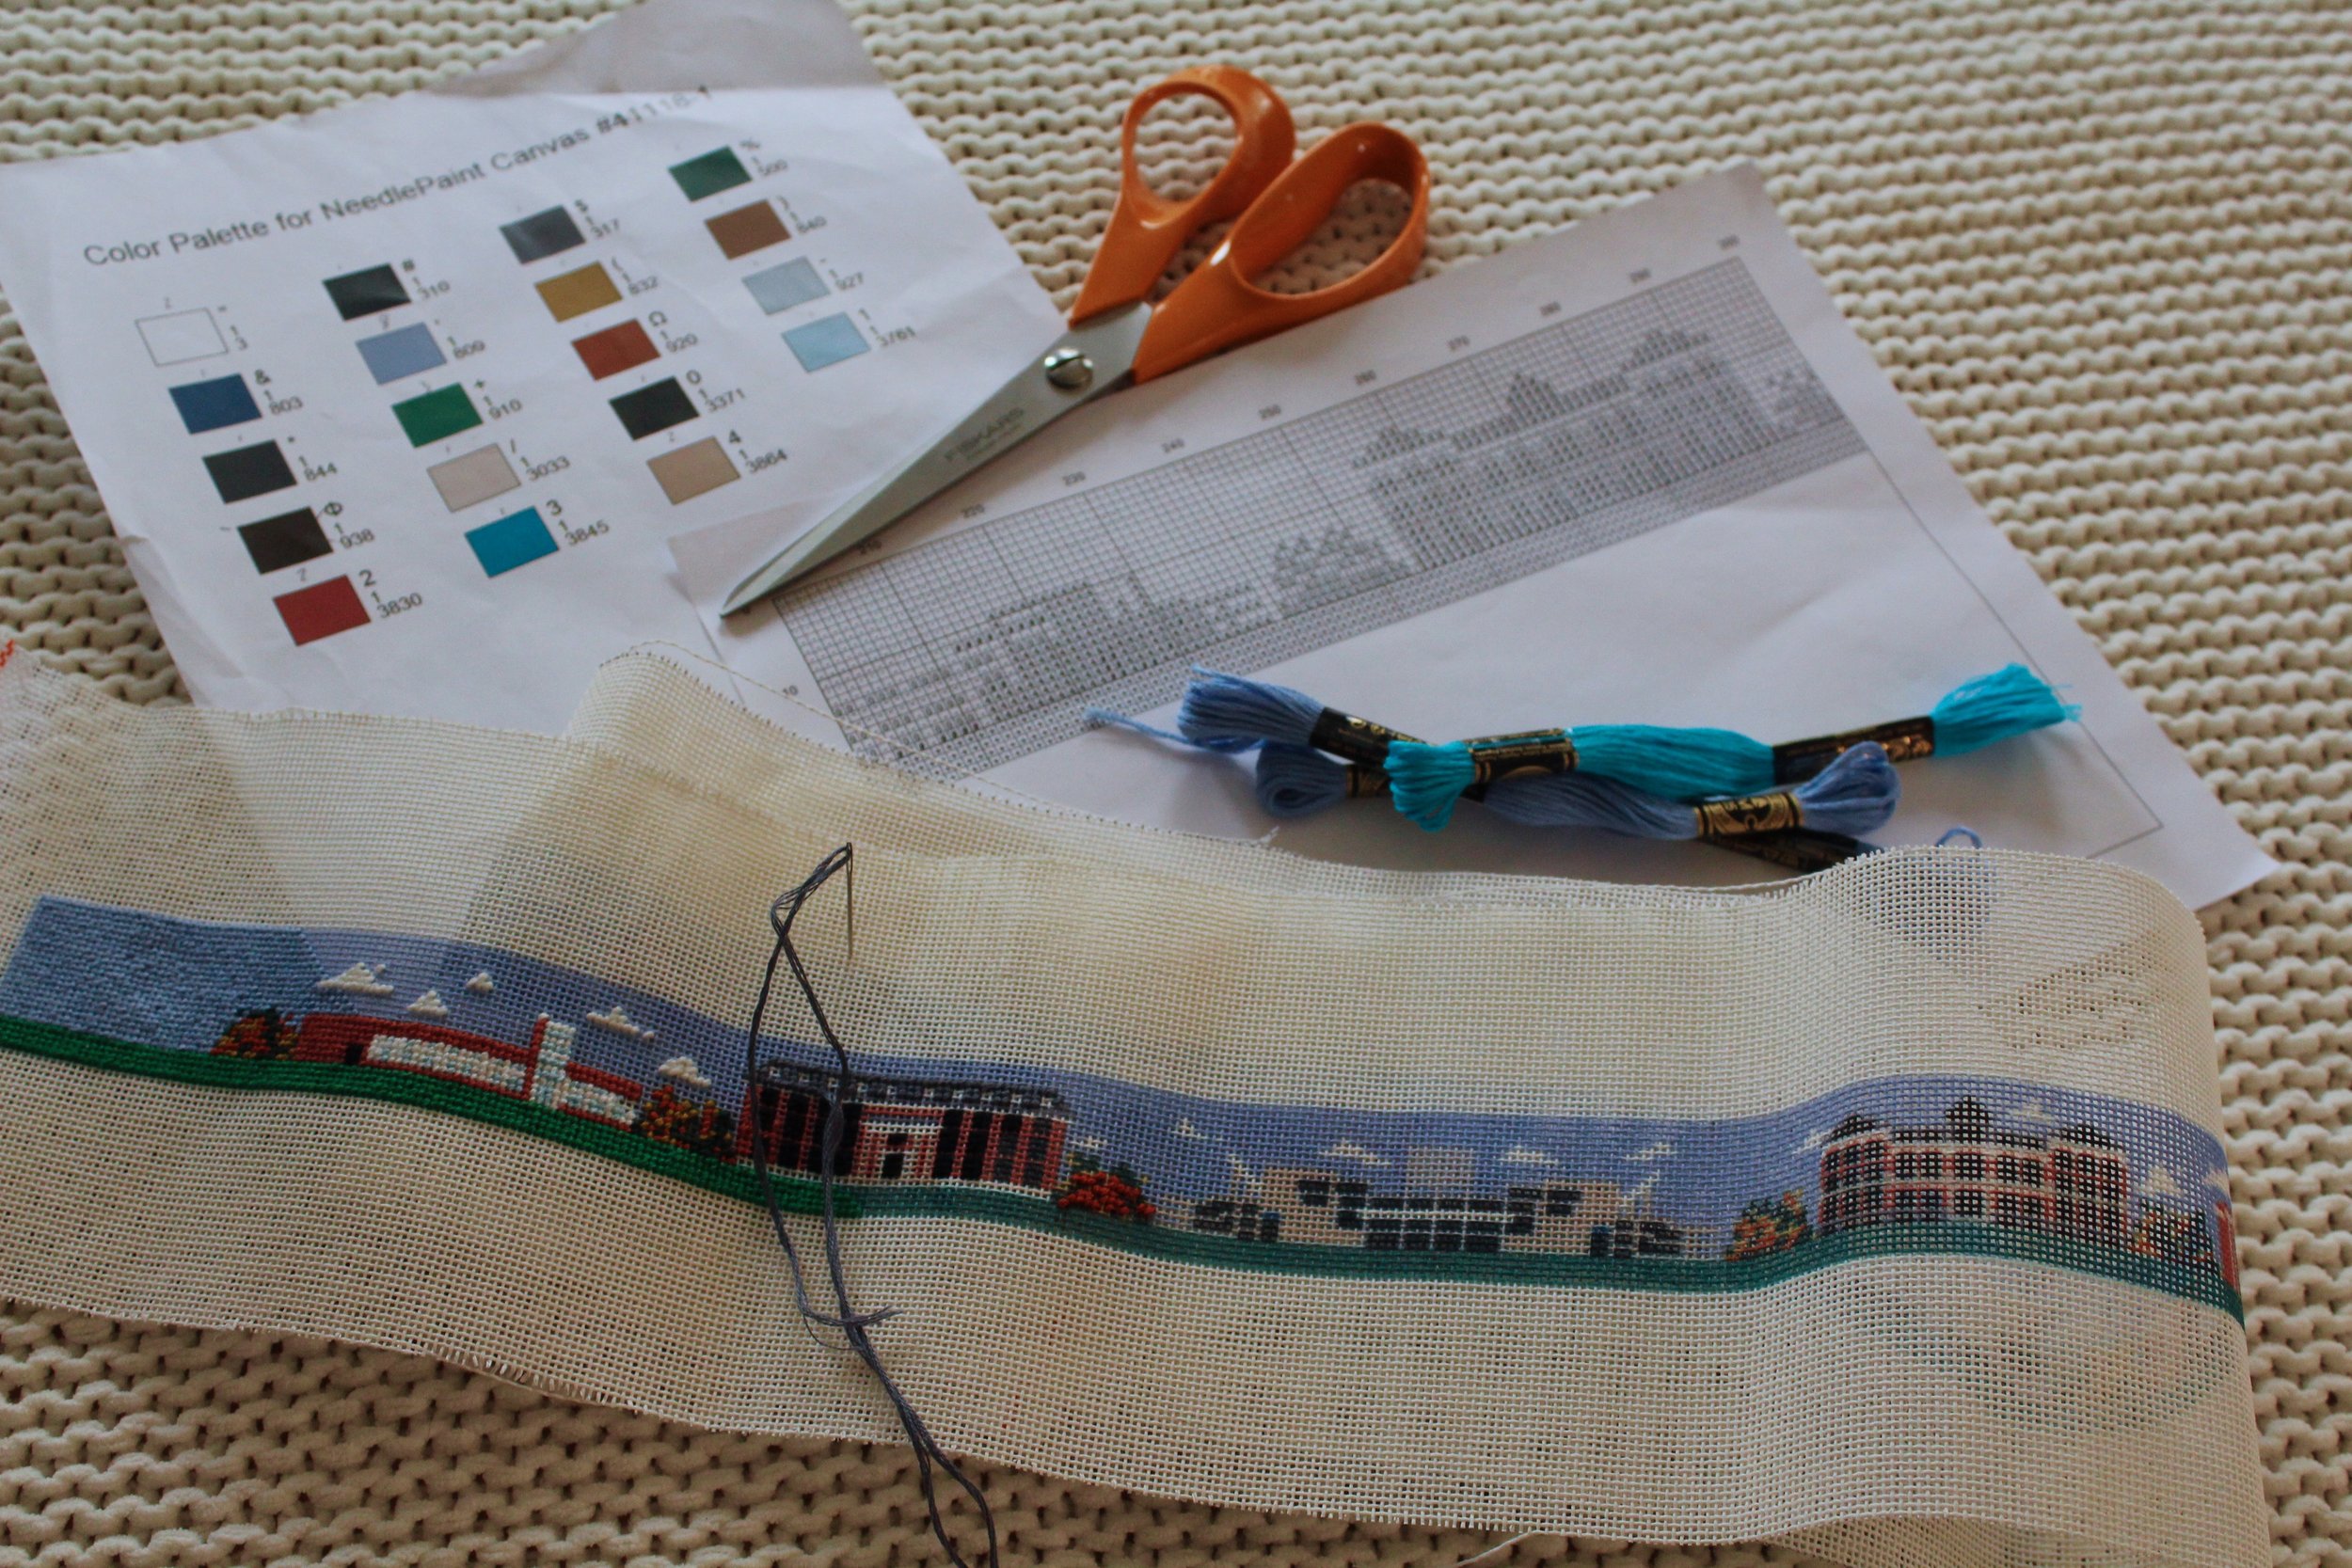
The canvas comes pre-painted on a mesh canvas. Mesh is graded into different sizes. The number on the mesh is determined by the number of holes per inch. So, an 18 mesh canvas has more holes per inch than a 14 mesh or a 12 mesh. This, in turn, determines the type of thread you’ll use. You may use DMC brand thread in Pearl Cotton sizes 3, 5, or embroidery floss size 25. These threads are also denoted by a color number. It’s a lot to learn, and it’s way easier to let the professionals choose the threads for you. If you have an option to choose the mesh (Needlepaint has a great blog about this here!), you should consider that a very small canvas (i.e., an 18 mesh) is going to take a longer time to complete and may be more difficult for someone who is very far-sighted or has a history of tendonitis or carpal tunnel in their dominant wrist. (I learned the hard way that I need to wear a wrist brace if I’m going to do a lot of needlepointing!) Don't be shy about asking your needlepoint shop for specific details. You can contact NeedlePaint here to ask more questions about your project, and you can rest assured that their products have a 100% satisfaction guarantee!
Step 2: Choose Your Pattern!
This is the fun part! You’ll want to pick out a pattern that really speaks to your recipient’s personality. This is a keepsake, so you probably want to go with an interest or hobby that is important to the person who’ll be wearing the belt. Some folks love to go with the customized hobby/ memory belt that commemorates several of the wearer’s hobbies; I’ve made one like that for my dad.
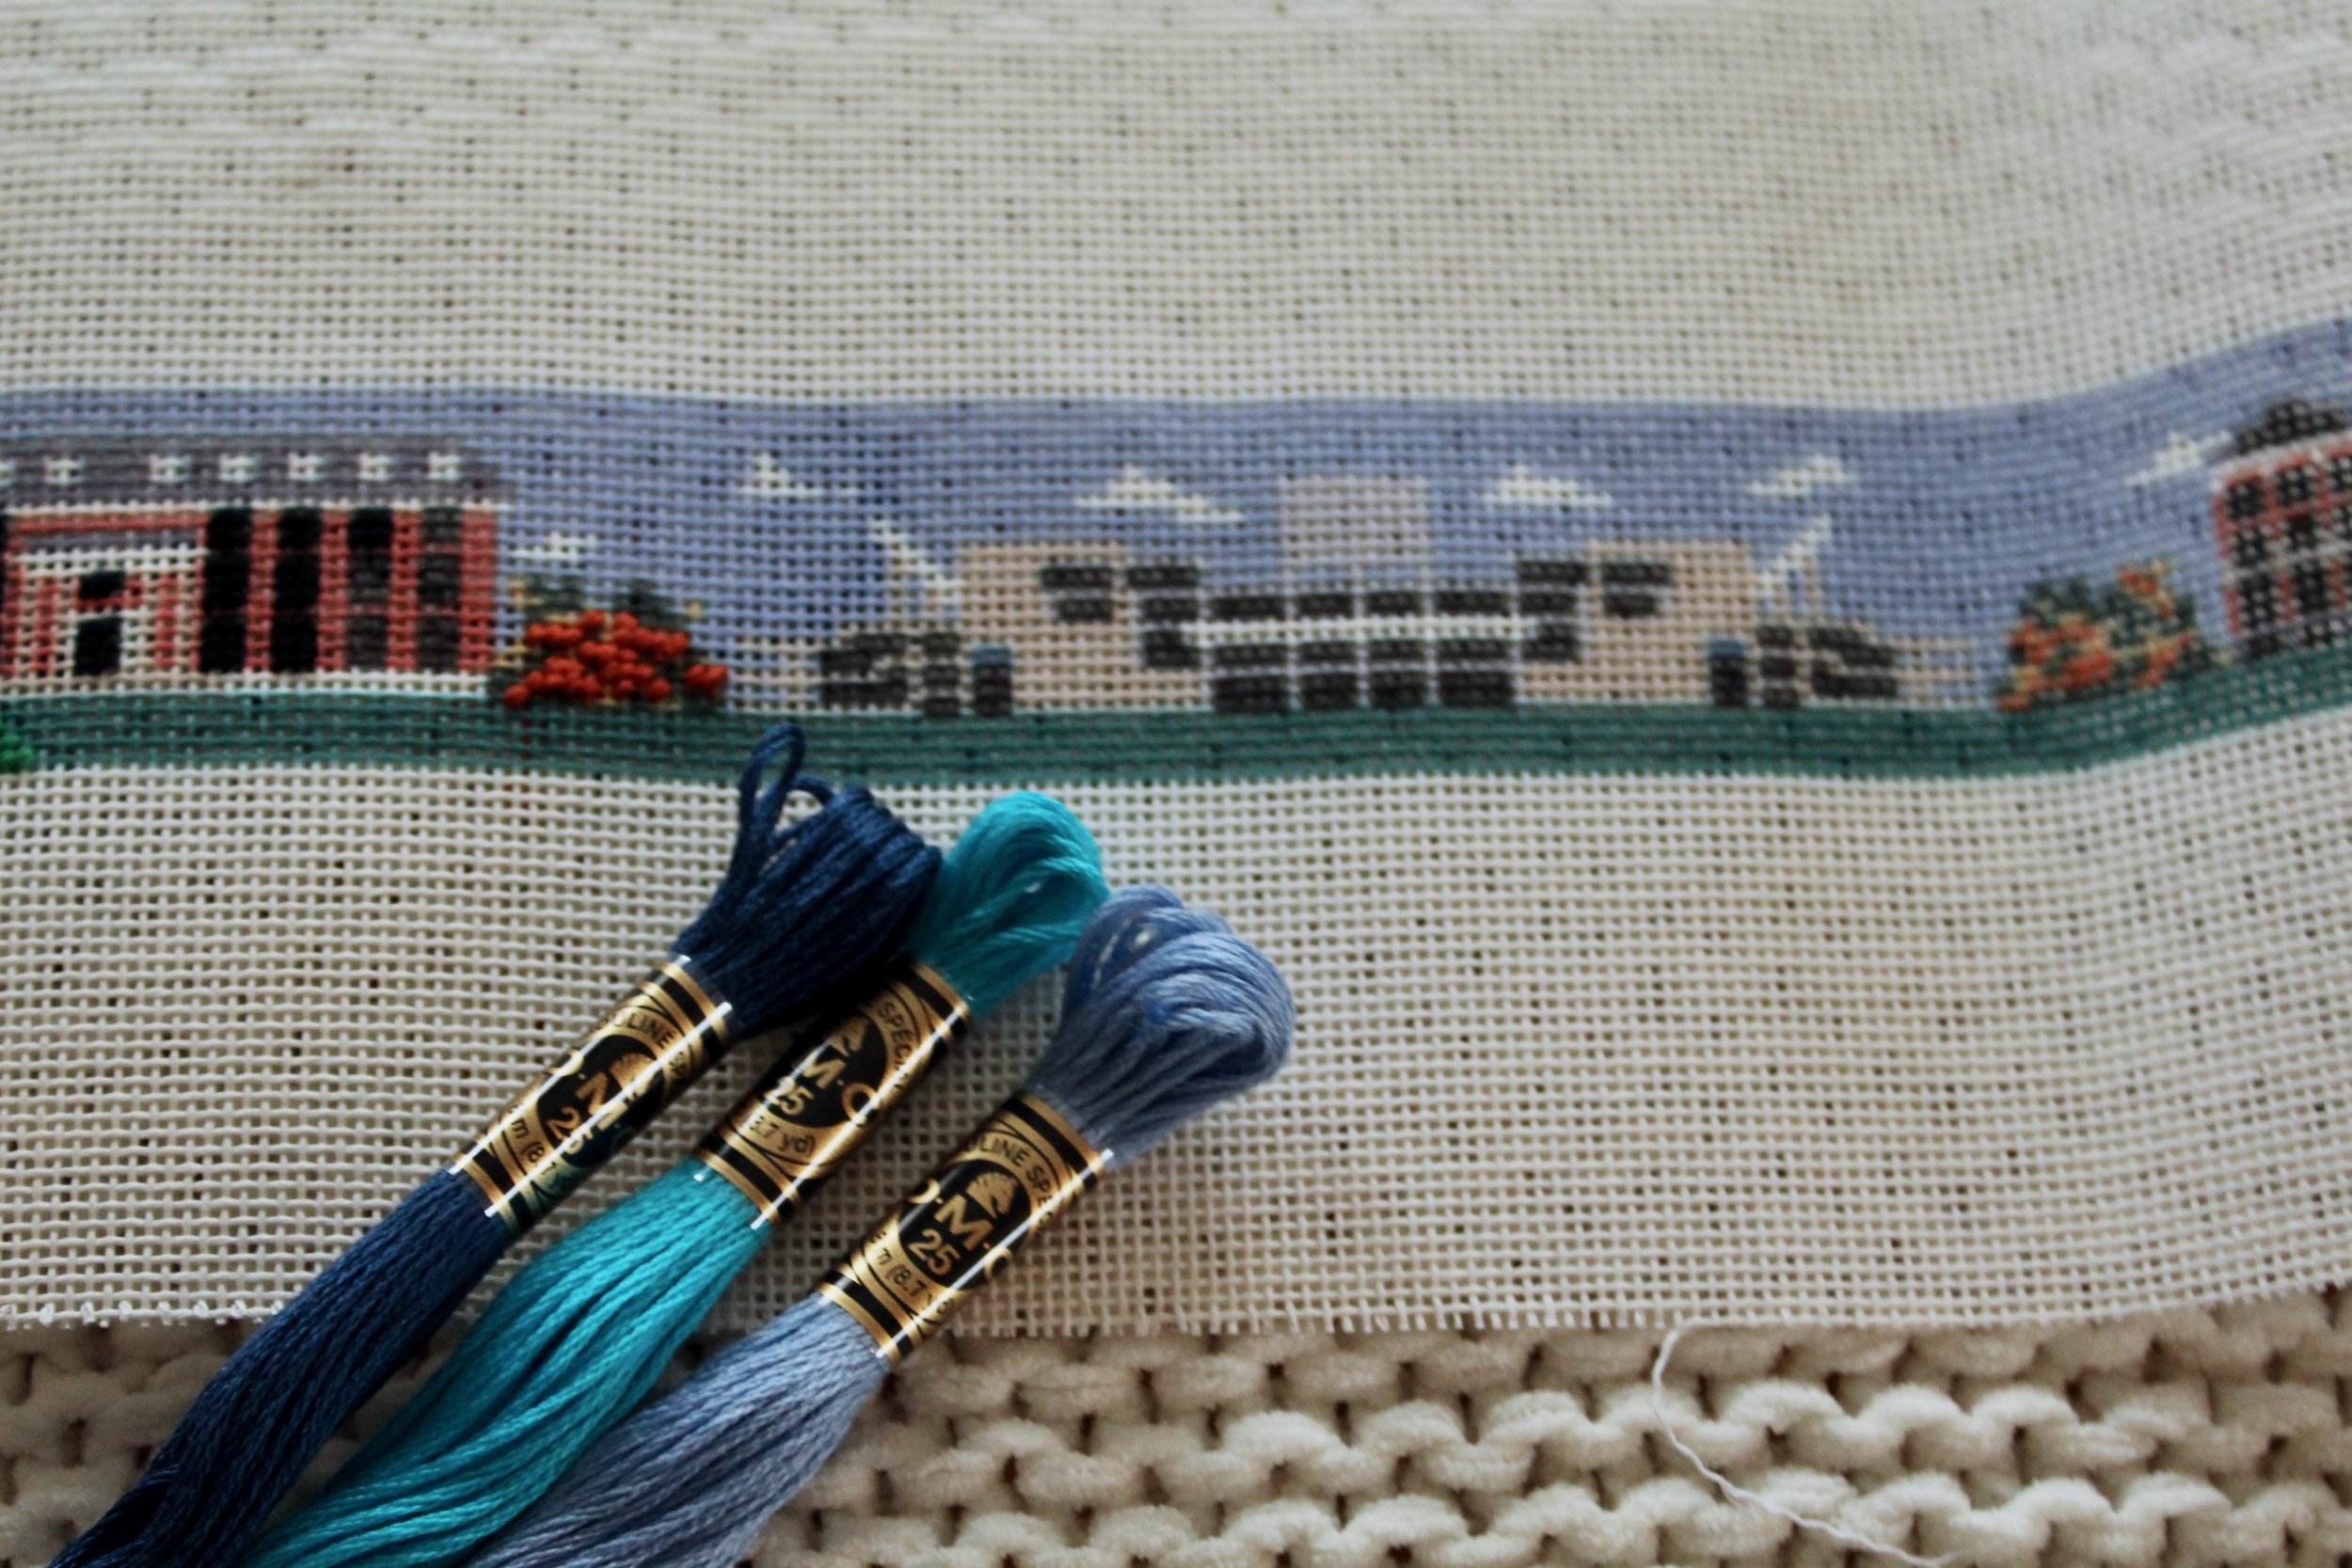
As for this project, I’ve made UK logo belts for Bob in the past, as well as a Bourbon Trail theme. This time, I went with a lovely, intricate pattern that depicts UK’s campus. Since both Bob’s law degree and his MBA are from the University of Kentucky, it seemed like both a fun commemoration and a clever way to show team spirit. I love that they combined images of older buildings like Bowman Hall and Memorial Hall with the sports stadiums — both Rupp Arena and Kroger Field! — as well as newer buildings like the WT Young Library and landmarks like the Arboretum. It really is a great design for someone who loves UK’s campus!
Now that you and your needlepoint store are on the same page about everything — the pattern, the colors, the initials, etc., there’s just one more thing to do before checkout: Measure Again!!! You’ll want to make sure you’re working with the vendor to ensure a properly fitting belt. NeedlePaint does a great job explaining their sizing system here.
Step 3: Start Stitching!
You basically are just going to do a single, diagonal stitch in correspondence with the painted design on your belt canvas. The only stitch you have to know is the continental stitch (This guide from DMC explains it way better than I ever could!), but I often add in a basketweave for stability. You can find a lot of great information on the internet, and the NeedlePaint blog has a wealth of information. I love that my NeedlePaint canvas not only has the design painted on the canvas, but also includes a full pattern that lets you know which color of thread to use on every single hole. As you can imagine, the UK campus belt utilizes several shades of blue. The pattern guarantees that I select the right thread for every stitch!!
I’ll post Part Two, How to Finish and Leather Your Belt, soon! Thanks so much to NeedlePaint for partnering with me on this project!
Let me know in the comments if you’ve ever made a needlepoint belt!